![[Matrix Armory]](https://blogger.googleusercontent.com/img/b/R29vZ2xl/AVvXsEhE9-rldfAnaRE6cXUP95rOYNTpFOowJREe3kusIdw36cPVpip8SWoJ9hq57yuszmQvTGyoElYzLpNOmcSRw79MmsBV_Pc1pIy97jyCY8Anil0PX6hAOqhZfwNdCCFcFCm429VtUj1P96s/s1600/matrix+armory+black+banner2.png)
Ok first up is the cloak. Now I have a lot more done and I will post about that later because, well it's not done yet...
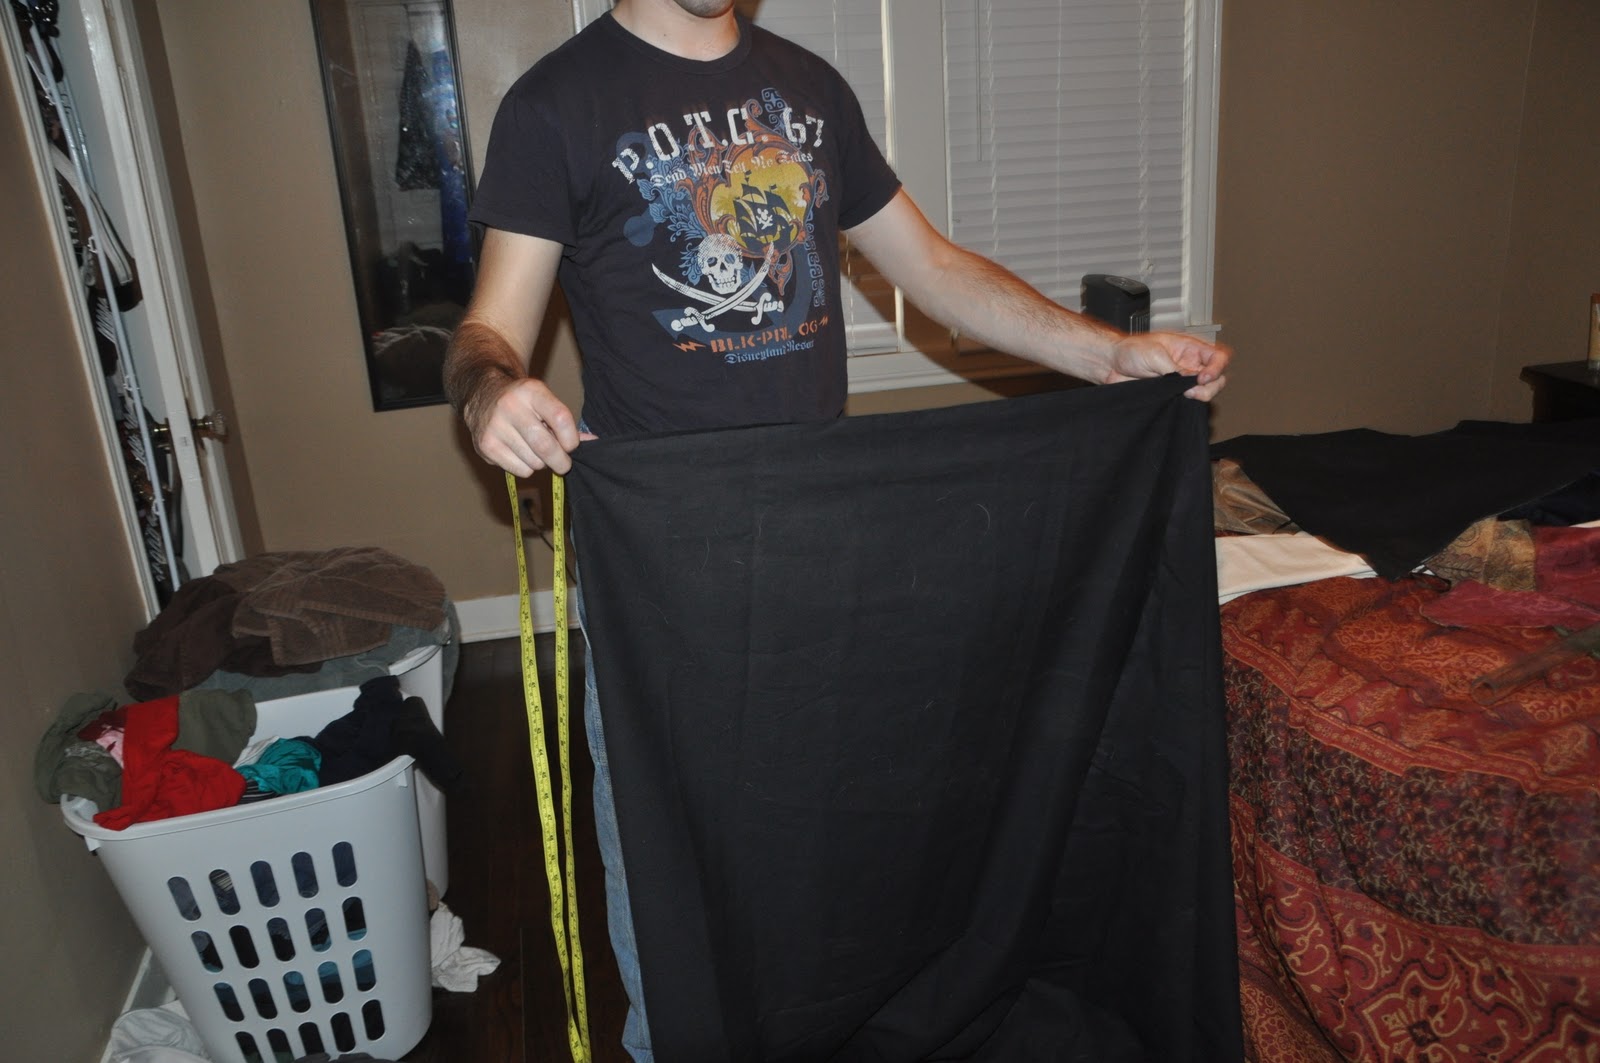
Anyways, the first thing I did was try and find a fabric. I was going to use fancy melton wool but at 18 bucks a yard my wife said no. :(
That's okay though because I recently found 6 yards of black canvas. Now, I would recommend using at least 7 yards for a cape, 7.25 with a hood, but all I had was 6 so I made do.
Here is a picture of my initial drawing:

(okay I redrew it nice and pretty like so it was readable)
So basically for a nice, big, Sith Lord type hood you need a piece of fabric about 28" tall and have the neck hole plus about 5". In my pictures I drew the fold on the left, but I actually sewed it with the fold on top so I had to sew less. Unfortunately I forgot to take a picture of the hood before I attached it to the hood.
Next we have the actual cloak itself. There are two things you can do here. The first is to lay out the fabric and divide it in to 6 equal triangles. Make the height of the triangles equal to the width of the the fabric (mine was about 60-62").
The second option is the one I chose and is harder to pull off, but saves a whole bunch of time. Fold the fabric so it is the width of one triangle. Next, fold it back on itself. Then again, and again until you have one less fold than the number of panels. The picture in the bottom right corner of my plans shows what I mean. It should look like this:

Mark so you have a straight line to cut along and cut from the top right corner to the bottom left corner (or top left to bottom right). Make sure to cut through all of the layers at once so you cut out all of your panels.

I wouldn't use fabric less than 58" unless you are short or don't want the cape to touch the ground. Making the width of the fabric the height of the triangle makes the radius of the cape longer than the height of the fabric. If you wonder how this works feel free to ask and I'll explain it, google Pythagorean Theorem, or just trust that I have taken a lot of math and this is how it is.
Now that I have my panels I washed them so they wouldn't shrink, but they ended up fraying like CRAZY.

After much trimming and sewing I attached all of the panels together and sewed the hood on. This would have taken much less time, but my sewing machine is crap and I hand sewed them all.
Here is the end result:


I still have to weather the edges and maybe hem the edges. Also, add the clasp. So this isn't completely done, but I wanted to get it up here.
Tomorrow I will be posting how I made John's Revan mask!
Until then,
-Matrix
No comments:
Post a Comment